Eyeshadow is a cornerstone of eye makeup, enhancing depth and dimension. Mastering the basics involves understanding color placement, blending, and tool selection to create stunning, personalized looks for any occasion.

Choosing the Right Brushes
Selecting the right eyeshadow brushes is essential for precise application. Flat brushes for base colors, fluffy brushes for blending, and angled brushes for crease work ensure a polished look.
Types of Eyeshadow Brushes and Their Uses
When it comes to eyeshadow application, the right brush can make all the difference. Flat shader brushes are ideal for packing eyeshadow onto the lid, ensuring vibrant color payoff. Fluffy blender brushes are designed for softening edges and blending colors seamlessly into the crease. Pencil brushes are perfect for precise application, such as lining the lash line or creating sharp details. Finally, angled brushes are great for contouring the outer corner of the eye or applying shadow to the brow bone. Each brush serves a unique purpose, and having the right set in your arsenal allows for a more professional and polished finish. Experimenting with different shapes and sizes can help you achieve your desired look effortlessly.
- Flat Shader Brush: For lid coverage and color intensity.
- Fluffy Blender Brush: For blending and softening edges.
- Pencil Brush: For precise details and lining.
- Angled Brush: For contouring and brow bone application.
Investing in quality brushes will elevate your eyeshadow game and make the application process smoother and more enjoyable.
How to Care for Your Brushes
Proper brush care is essential for maintaining hygiene and performance. Wash your brushes regularly with mild soap or a gentle cleanser, focusing on the ferrule and bristle base. Avoid soaking wooden handles to prevent damage. Gently reshape bristles while wet and allow them to air-dry to maintain their natural texture. Store brushes upright in a protective case to prevent bending or shedding. For quick cleaning between uses, use a makeup brush cleaner or alcohol-free wipes. Deep clean every 1-2 weeks to remove built-up product and bacteria. Properly cared-for brushes ensure smoother application and longer lifespan. Neglecting maintenance can lead to poor performance and hygiene issues, making regular cleaning a crucial step in your eyeshadow routine.
Selecting Eyeshadow Colors for Your Eye Color
Choosing the right eyeshadow colors enhances your natural beauty by complementing your eye color. For brown eyes, warm neutrals work best, while blue eyes pop with golds or deep charcoals. Hazel eyes shine with earthy tones or rich jewel shades, and green eyes stand out with copper or plum hues. Always consider your skin tone and personal preferences for a flawless look.
Understanding Color Hues and Skin Tone
Choosing the right eyeshadow colors begins with understanding your skin tone and eye color. Warm tones (golden or peachy undertones) look stunning with earthy shades like bronzes and coppers, while cool tones (pink or porcelain undertones) are complemented by silvers, charcoals, and berry hues. For example, if you have cool skin, opt for eyeshadows with blue or pink undertones to enhance your natural brightness. Conversely, warm skin tones can embrace golden and sun-kissed shades for a radiant look.
Additionally, your eye color plays a role. For instance, blue eyes pop with warm neutrals, while brown eyes can handle bold, rich colors. Testing colors on your wrist can help determine if they suit your tone. Remember, the goal is to create harmony between your eyeshadow and natural features for a polished, professional finish.
Color Placement Tips
Mastering eyeshadow placement is key to achieving a polished look. Start by applying a light base shade across your entire lid to act as a foundation. Use a medium tone in the crease to add depth, blending gently for a seamless transition. Darker shades should be placed near the lash line or in the outer corner to create dimension. Highlight the brow bone with a shimmer or light neutral to brighten the area. For a cohesive look, ensure colors gradate from light to dark. Experiment with smaller palettes for guidance, as they often indicate placement. Remember, practice makes perfect—play with techniques to find what flatters your eye shape and color best.
- Light shade on the lid.
- Medium tone in the crease.
- Darker shades near the lash line or outer corner.
- Highlight the brow bone.
Mastering Eyeshadow Application Techniques
Blending and layering are key to a polished look. Start with light base shades, then add depth with darker tones, blending seamlessly for a natural or dramatic finish.
Blending and Layering Techniques
Blending is key to creating a seamless eyeshadow look. Use a fluffy brush to merge colors softly, ensuring no harsh lines. Start with a light base shade across the lid, then layer medium tones in the crease for depth. Darker shades can be applied to the outer corner for dimension. Layering allows for buildable intensity—apply sheer coats and blend between layers. For a natural look, blend upward and outward; for drama, focus on the crease. Use a light hand initially, as it’s easier to add more pigment than to remove excess. Blending brushes are essential for this step, while smaller brushes help precision. Remember, blending should create a gradient effect, making your eyeshadow appear effortless and polished. Practice makes perfect, so experiment with techniques to find what works best for you and your eye shape.
Everyday vs. Glam Looks
When it comes to eyeshadow, the look can range from subtle and natural to dramatic and glamorous. For everyday looks, focus on soft, blendable shades that enhance your natural eye color. Use light to medium tones on the lid, a slightly darker shade in the crease, and a highlight under the brow for a fresh, effortless appearance. A fluffy brush is ideal for blending, ensuring no harsh lines.
For glam looks, bold colors and precise techniques take center stage. Start with a base shade, then layer darker hues in the crease for depth. Use a dense brush to pack on pigment for intense color payoff. Blend edges seamlessly with a fluffier brush. Don’t forget to highlight the inner corner for a bright, polished finish. Experiment with metallic or glitter shades to elevate the drama. Remember, blending is key to creating a seamless transition between colors for both everyday and glam looks.
The Role of Eyeshadow Primer
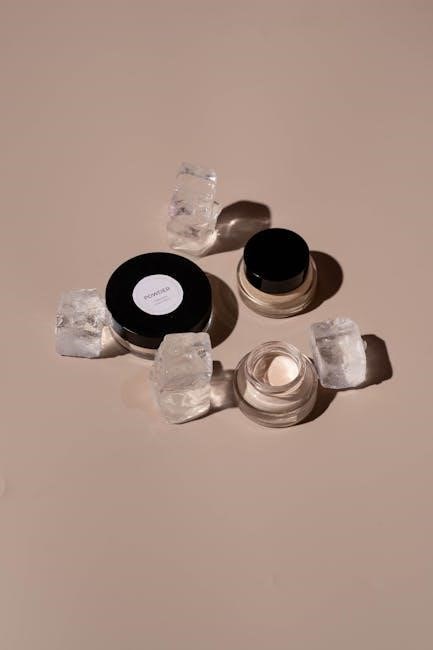
An eyeshadow primer is a must-have product that ensures your eyeshadow stays vibrant and lasts all day. It creates a smooth canvas, preventing creasing and uneven application. Primer enhances color payoff, making shadows appear more intense and true to tone. Many users apply primer, let it set, then layer eyeshadow on top for the best results. It’s essential for oily lids or hot climates to keep your look fresh. Skipping primer can lead to faded or patchy eyeshadow, so it’s a crucial step for professional-looking results. Experiment with different formulas to find what works best for your skin type and needs; A good primer is the foundation of a flawless eyeshadow look, ensuring your makeup stays perfect from morning to night. Don’t overlook this small but impactful step in your routine!
Essential Tools Beyond Brushes
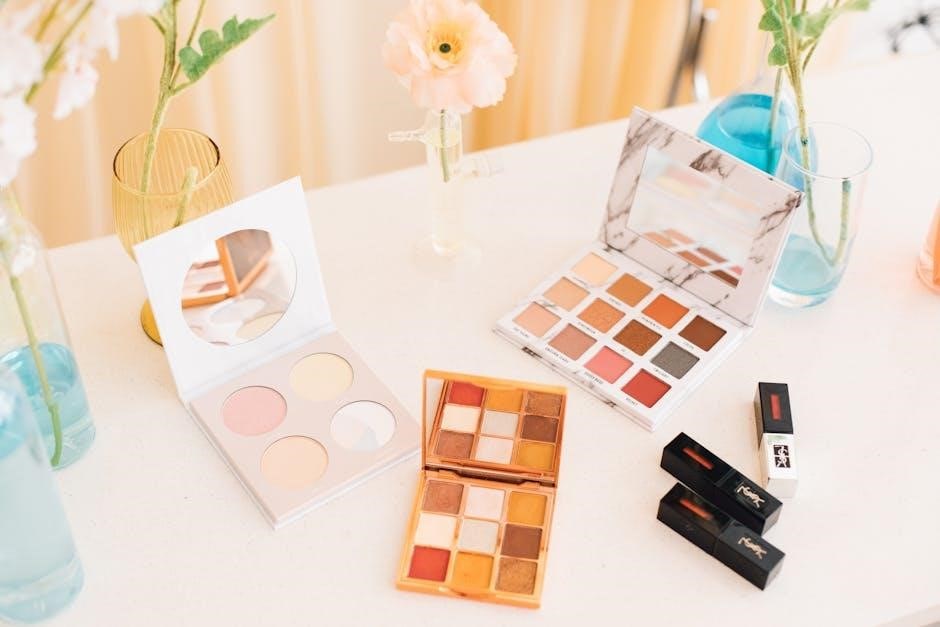
Beyond brushes, several tools are crucial for a polished eyeshadow look. An eyeshadow primer ensures vibrant color and longevity, while a setting spray locks everything in place. A makeup sponge can blend edges smoothly, and tweezers help with lash application. Don’t forget a mirror for precision and a palette for organized shade selection. These tools elevate your technique, ensuring a seamless and professional finish.
Creating Versatile Looks
Mastering versatile eyeshadow looks allows you to adapt your makeup for any occasion, from natural everyday wear to dramatic evening styles. Start with a base shade across your lid for a seamless look, then layer deeper hues in the crease for dimension. For a glam transformation, add shimmer or metallic shades to the center of your lid and inner corner. Don’t forget to blend thoroughly for a soft transition between colors. Experiment with placement—darker shades near the lash line create depth, while lighter tones brighten the eye area. Using a light hand for daytime and building intensity for night offers endless possibilities. Pair neutral palettes for versatility or incorporate bold colors for a statement. Remember, practice makes perfect, so play with techniques to find what works best for you!
Common Mistakes to Avoid
When applying eyeshadow, avoiding common mistakes can elevate your look. One major error is not using primer, which ensures color stays vibrant and lasts longer. Over-blending can muddy the transition between shades, while under-blending leaves harsh lines. Using too much product at once can cake the lids, so build color gradually. Another mistake is placing dark shades too far into the corner, which can make the eyes appear smaller. Forgetting to blend the edges of the eyeshadow can create an unnatural finish. Lastly, using the wrong brush for the technique can lead to poor pigment application. By addressing these issues, you can achieve a polished, professional finish.